OpenID Connect (Single Sign-On)
Traccar can authenticate users with a third-party identity provider supporting the OpenID Connect protocol. This includes enterprise directories such as Okta, self-hosted apps like Authelia and public services like Google.
The authentication process is as follows:
- Traccar redirects the user to the identity provider
- The user authenticates with the identity provider
- The identity provider redirects the user to Traccar with an authorization code
- Traccar validates the callback and requests the users info from the identity provider
- If a user is found with a matching email, they are authenticated, if not a new user is created
As with the LDAP integration, an internal representation of the user still exists, and admin rights can automatically be given using the adminGroup configuration option.
Configuration
- openid.force - disables internal authentication, only OpenID users can login.
- openid.clientId - This is a unique ID assigned to each application you register with your identity provider and is required to enable SSO (required).
- openid.clientSecret - This is a secret assigned to each application you register with your identity provider and is required to enable SSO (required).
- openid.issuerUrl - The base URL of your identity provider (required if openid.authUrl, openid.tokenUrl and openid.userInfoUrl are not set).
- openid.authUrl - The endpoint users are forwarded to during the login process (required if openid.issuerUrl is not set).
- openid.tokenUrl - The endpoint providing a token to Traccar (required if openid.issuerUrl is not set).
- openid.userInfoUrl - The endpoint which provides user information to Traccar (required if openid.issuerUrl is not set).
- openid.allowGroup - A group to restrict access to.
- openid.adminGroup - The group to grant admin access to.
Additionally, you will most likely need to set the web.url property to provide the identity provider with the correct redirect URL.
In nearly all cases, the required configuration URLs will automatically be fetched from the "well-known" endpoint if openid.issuerUrl is set.
You can also configure OpenID manually by setting openid.authUrl, openid.tokenUrl and openid.userInfoUrl and omitting openid.issuerUrl.
An example of the well-known endpoint for Google is https://accounts.google.com/.well-known/openid-configuration, with the issuer URL of https://accounts.google.com.
Provider-specific example - Google
- First, create a project in the Google Cloud Console
- Go to APIs and services > OAuth consent screen and configure according to your needs. The important settings are:
- Authorized domains - any domains you will use to host Traccar must be added here
- Scopes - Add openid, userinfo.profile and userinfo.email
- Test users - Add yourself and your users. Until the app is published, these are the only users who will have access to Traccar.
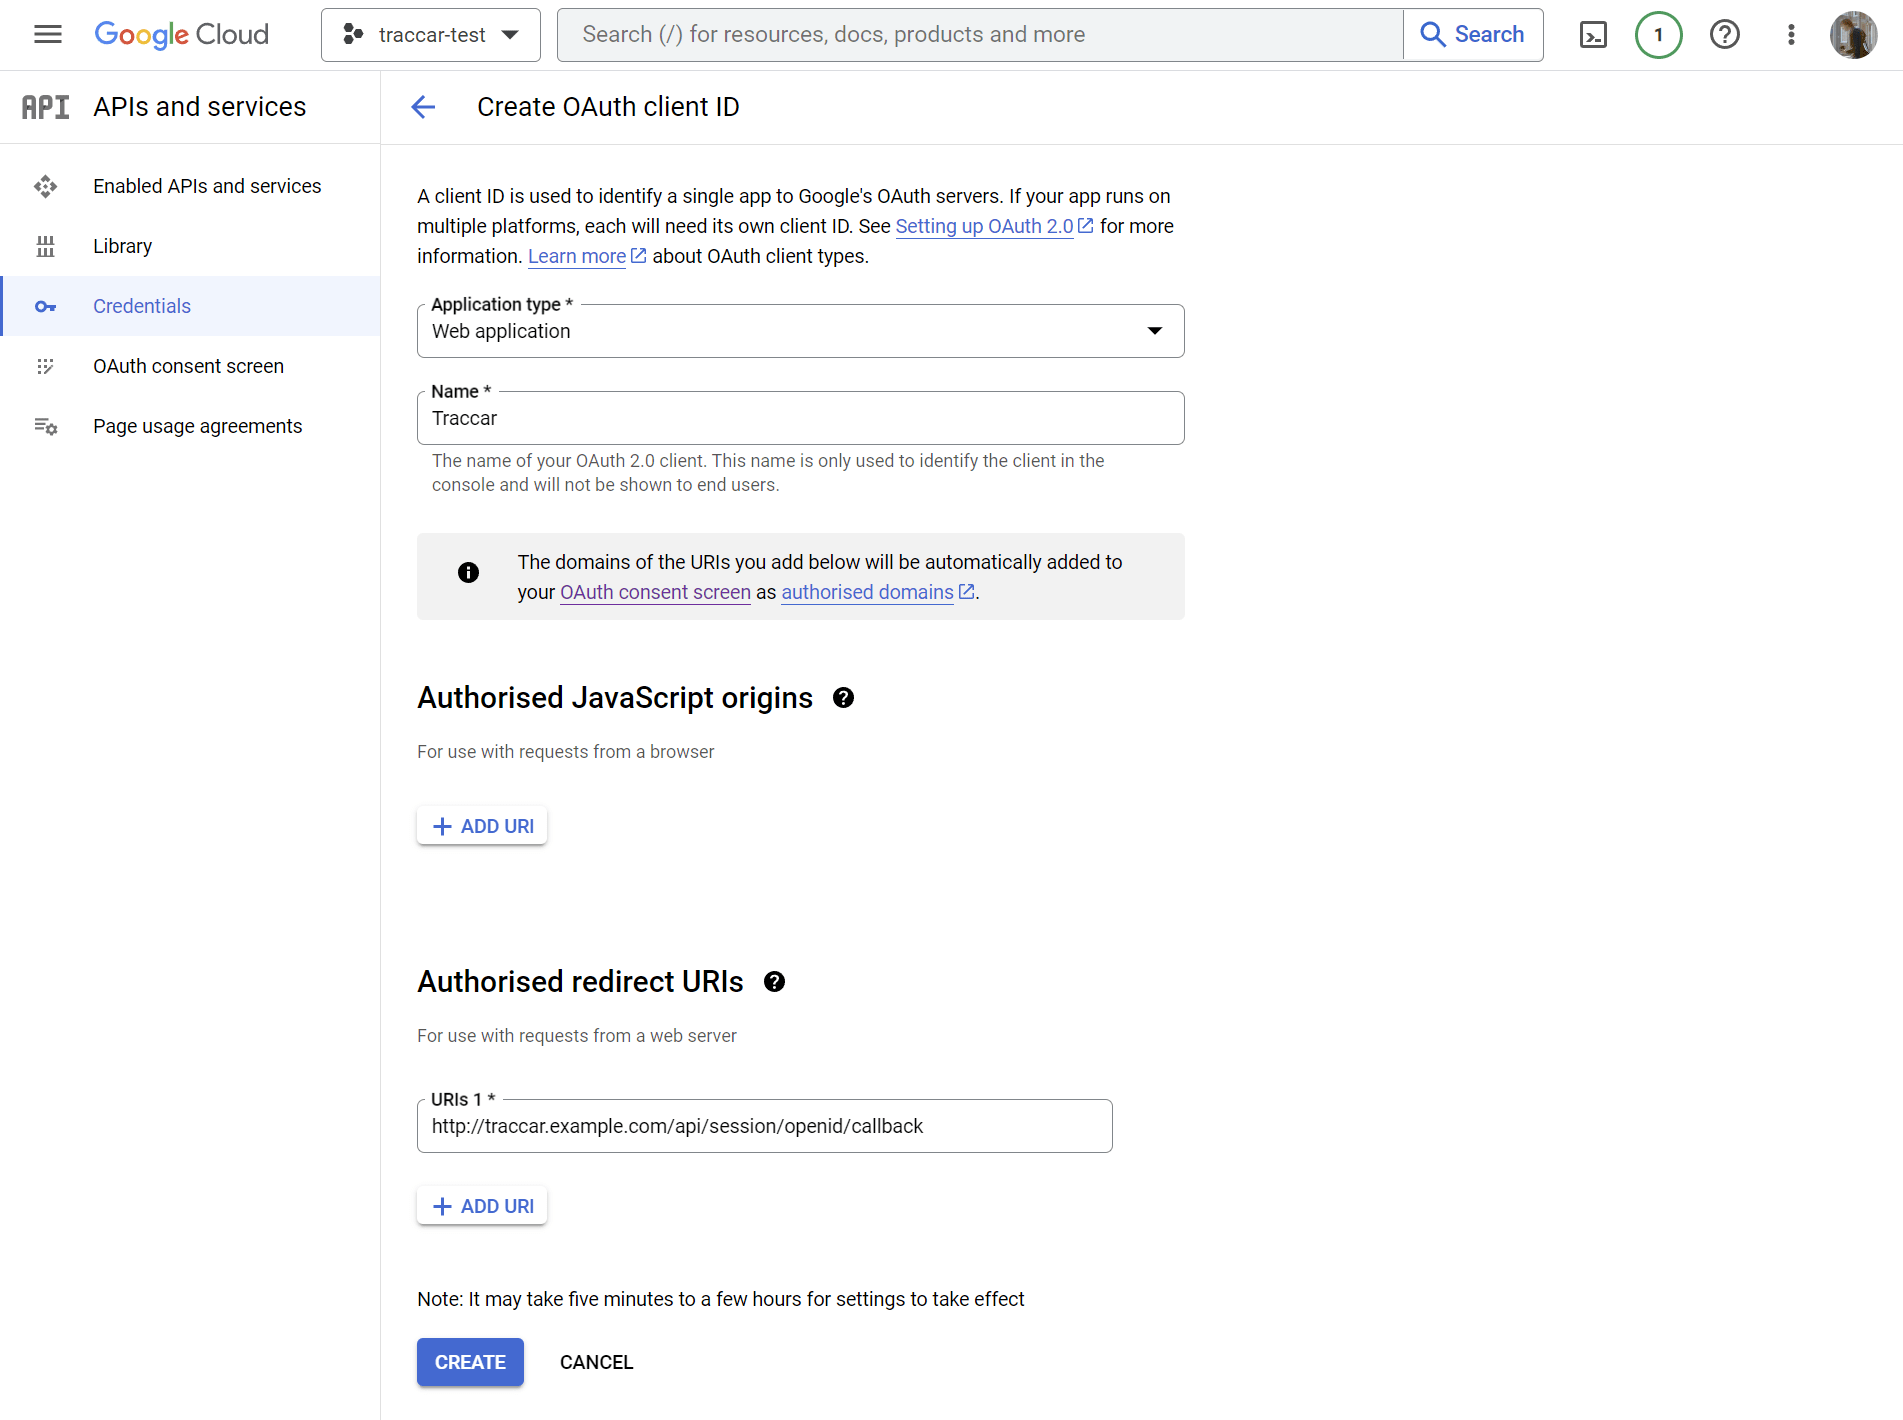
- Go to APIs and services > Credentials and create an OAuth client ID. It's important to add an authorized redirect URL to /api/session/openid/callback on your Traccar instance.

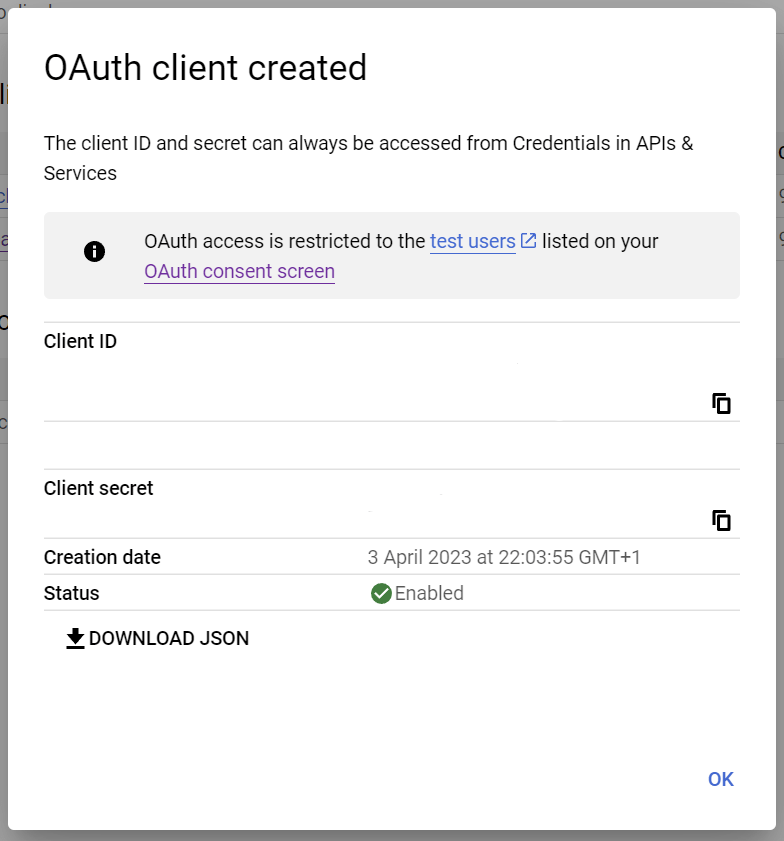
- Configure Traccar with the details from Google Cloud:
- openid.clientId - Google Client ID
- openid.clientSecret - Google Client Secret
- openid.issuerUrl - https://accounts.google.com
- web.url - URL of your Traccar instance

- Restart Traccar and click Login with OpenID
- You should see a Google login consent screen and be able to access your Traccar instance
Note: The Google OpenID endpoint does not provide a "groups" claim, so openid.adminGroup will not work with it. You will need to configure a local admin user before enabling SSO in Traccar.
Implementation details
Traccar uses the OpenID Connect code flow and requires the following scopes:
- openid
- profile
- groups (if openid.adminGroup) is set
The Traccar callback URLs are
- {web-url}/api/session/openid/callback for web
- org.traccar.manager:/api/session/openid/callback for mobile