Displaying ODB2 extended attributes on map device popup


You can use computed attributes to display this information.

You probably need to convert those raw IO attributes into meaningful values using computed attributes first:
https://www.traccar.org/computed-attributes/
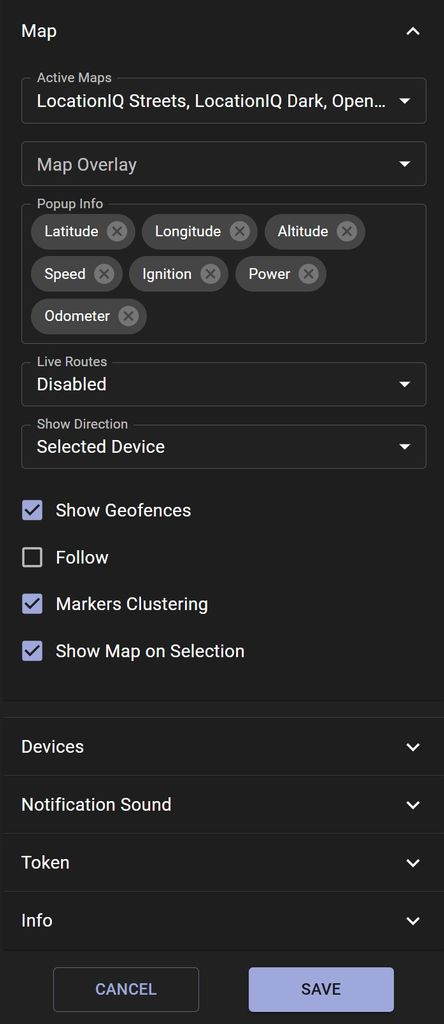
Then add those new attributes to the popup info.

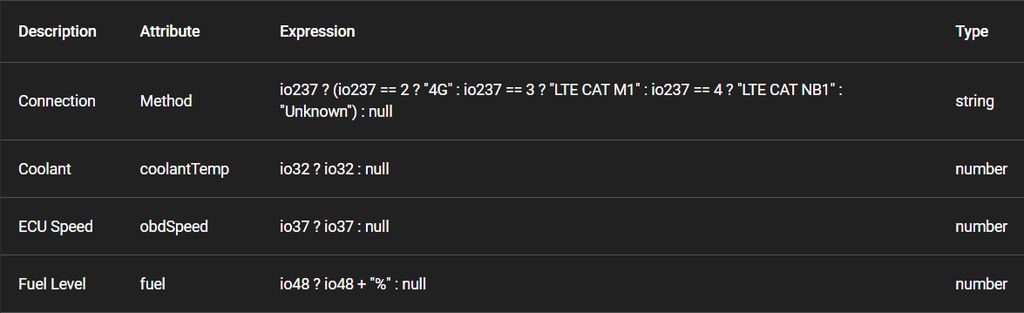
Anton is of course correct. You have to convert them to a named Attribute, whether that attribute exists already, or needs to be created new. Here's a couple of my own:
Thanks for the replies, I wrongly assumed that you could select the ODB2 extended attributes directly from the popup list itself. It seems like you need to first map the "extended" attributes to standard "named" attributes, even if conversation is not required, i.e. raw values.
I am wondering whether the documentation should be expanded to explain that only "named" attributes can be used in the device popup and furthermore, it would be good to provide "computed" attribute examples as shown above. Thank you for the examples which help a lot.
You can add raw IO values to the popup as well.
How do you create custom attributes? My example below is mapped to named attribute "Temperature 2" but how do I create an attribute called "Ambient Air Temperature"? I don't see any instructions or options in the user interface to do that?

This is how it appears in the "More Details" device screen. The Computed Attribute is called "temp2" however I was expecting it to be "ca_ambient_air_temperature". Clearly I am missing something here! How do you configure Computed Attributes with a user friendly (custom) name?

Description is just a description. It won't show anywhere.
The attribute field is the output attribute. In your case you selected Temperature 2, which has a key temp2. So everything seems to be working as expected.
You could also type any custom attribute key if you want.
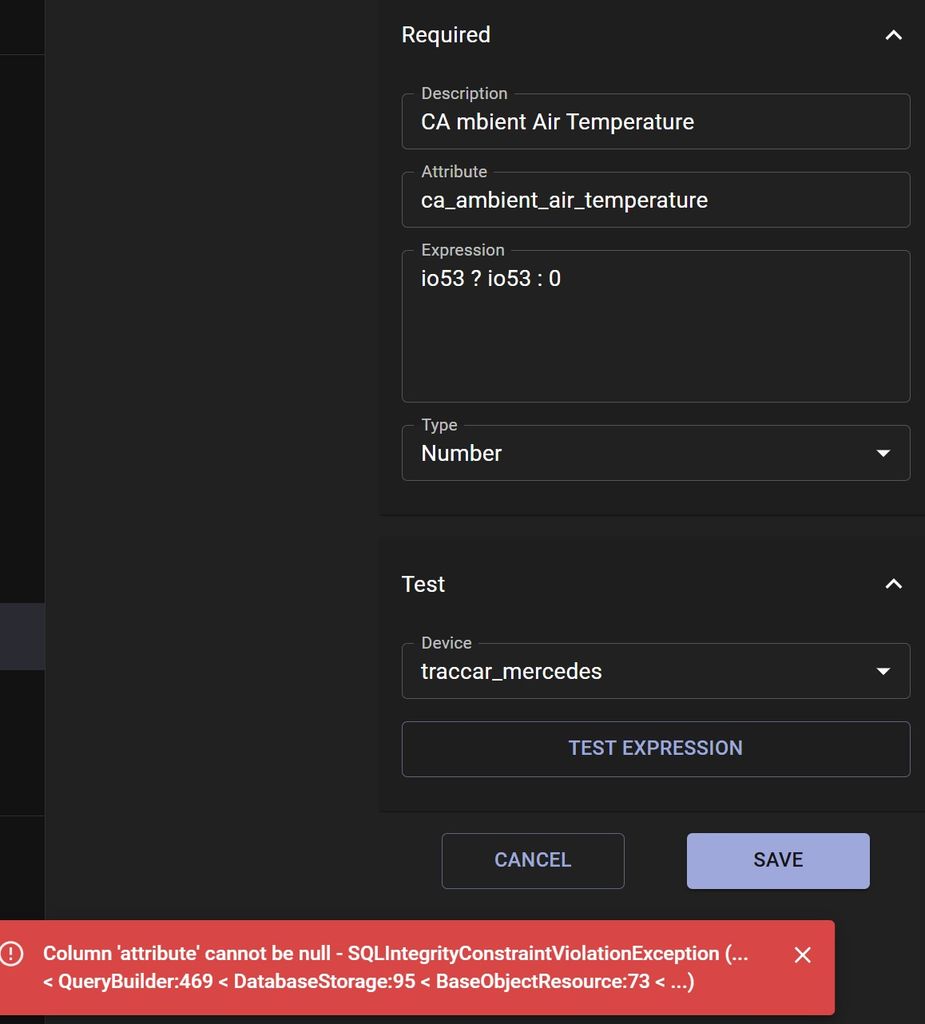
That's what I thought, but when I try to type in a Custom Attribute I get an error "column attribute cannot be null" see error message below. It seems like I am not following the correct procedure?
Make sure after you type a custom attribute, you click it in the popup.
Found the issue, when I was typing a Custom Attribute I got an error "column attribute cannot be null" see error message above. It seems like the SQL record is not committed if you lose focus on the data entry field (using tab key). You have to hit the ENTER key to commit the record to the database, otherwise it will continue with this error. It must be a small bug on the user interface?
It's not really a bug. It's just a limitation of the UI component.
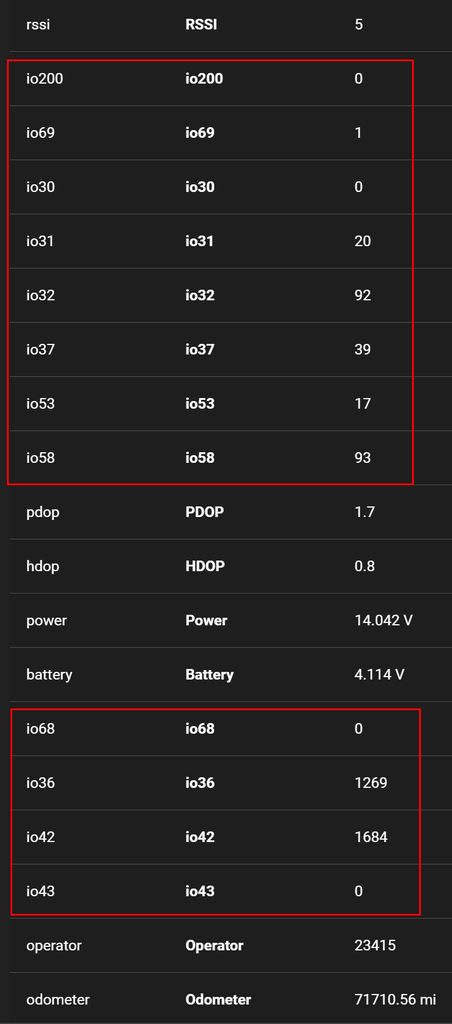
My Teltonika FMC003 is successfully sending ODB2 extended attributes to my Traccar server and they can be viewed by accessing the three dot (...) menu, followed by "More Detail" option. Please see picture below.
However, I'd like to add the custom attributes (red highlighted) to the device popup screen to avoid having to go into the "More Detail" menu option.
I've tried to add attributes to the device however that seems to have no affect.
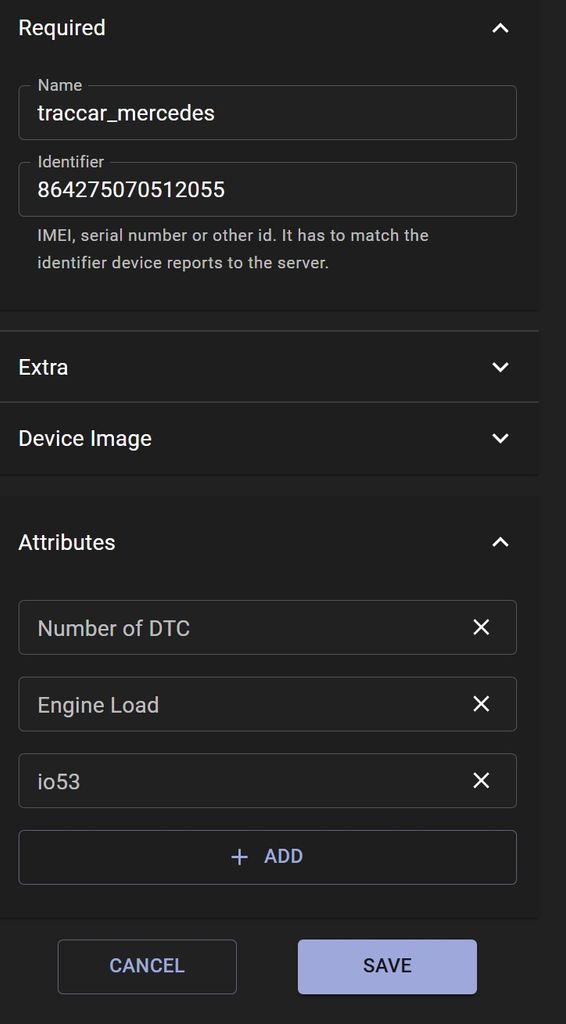
The custom attributes do not appear in the preferences menu
I've reviewed the online documentation (very limited) and numerous forum posts, however I couldn't find any instructions on how to do it. I appreciate your help and guidance.